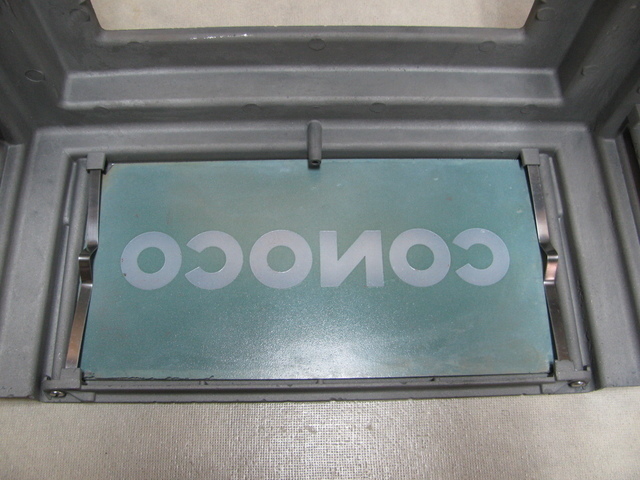
I must first make the admission that I haven't a clue about making metal springs. That being said, I also admit that ignorance of something hasn't always stopped me from forging ahead with some hair-brained idea under the banner of necessity is the mother of invention. Anyway, for the last year I have slowly been making progress on restoring a Tokheim 36B computer pump. One of the last problems to resolve has been to obtain or create some spring clips for the four ad glass plates. There were only two remaining clips with the pump and one Conoco ad glass. I searched around a bit for a supplier but to no avail and also researched making the springs. Since I didn't find any available to purchase, I decided to try and make my own. If it failed all I would be out was the cost of the material. So for $20 I purchased 10 feet of stainless spring strip steel, .031 x .250". I took a wooden board, placed an original spring on it and put in three screws next to where the three central bends were located. I cut the steel into 6" bars, marked the centre of the bar positioning it on the centre screw and made the bends around two of the screws. I had to remove the third screw to get the bar past its position, then replace it and make the third bend. All that was left was to make a slight bend near the ends and cut off the extra 1/4" remaining. There seems to be enough flex in the springs to hold the glass plate into position. I am hoping that this is all I need to do and not have to do any sort of heat treatment since a high strength spring is not really needed. I suppose I could have just stuffed some putty or something into the corners to hold the glass in and be satisfied. However, where is the challenge and the satisfaction in that? So for a little effort it seems to be working. If anyone has any further knowledge or experience in this I would be happy to hear from them. Cheers, Don
p.s. First photo shows the 2 original springs, 4 already shaped and 4 cut bars. Also the pump will probably be done up as a Canadian North Star when finished.


