Oldgas.com Home
Posted By: Steven C. G&B 176 resto progress - Sat Jul 11 2020 03:04 AM
Spent the night polishing nozzle.
Good time right up to where I hit my finger with 20K rpm wire brush. Not cool!!
Man I love being in the garage!!
Many parts painted and coming along.
More to come soon

Attached picture IMG_20200710_204818680.jpg
Attached picture IMG_20200710_214108048.jpg
Attached picture IMG_20200710_220542122.jpg
Posted By: BrianH Re: G&B 176 resto progress - Sat Jul 11 2020 11:57 AM
Looks great Steve. For future reference, Flitz makes a spray-on brass cleaner that removes that oxidation without removing any brass. You spray it on and the oxidation literally runs right off. I couldn't believe how well the stuff worked. I'll post a pic of the bottle later today if I can remember. Then hit the brass with some red rouge polishing compound and you're all set.
Posted By: Steven C. Re: G&B 176 resto progress - Sat Jul 11 2020 12:48 PM
So these things aren't solid brass/copper? I say copper because this one looks more copper then brass. Except the tube is definitely brass.

And on another note, the guys who polish these things up like mirrors, get out every nick, groove and scratch. I can't imagine the work that goes into that!!!
Posted By: BrianH Re: G&B 176 resto progress - Sat Jul 11 2020 03:33 PM
Oh they are Steve...I just don't personally like polishing out every nick and scratch. I think those add character. I think they're brass, not copper. Just different alloys of brass that give some a redder cast than others.
Posted By: Steven C. Re: G&B 176 resto progress - Sun Jul 12 2020 12:01 PM
Wow I love the way this is turning out!! I'm going to hate to have to put this outside, but I just don't have high enough ceilings.

Attached picture IMG_20200712_074751514.jpg
Attached picture IMG_20200712_074828012.jpg
Posted By: Done4 Re: G&B 176 resto progress - Sun Jul 12 2020 03:49 PM
Looking real good Steve, great color.
Posted By: BrianH Re: G&B 176 resto progress - Sun Jul 12 2020 07:09 PM
Great color Steve. You using a rattle can or a paint gun?
Posted By: Steven C. Re: G&B 176 resto progress - Sun Jul 12 2020 09:05 PM
The yellow is custum and I had them put it in Rattle cans.
I've never used a gun.

Putting color down on the skins with Rust-Oleum Midnight Blue Satin. This color was do close I just went with it to save some dollars.
Was worried about getting an even color laydown on such large surface, but coming out great!! Those hundreds of models I painted as a kid paying off.

Attached picture IMG_20200712_165225042~01.jpg
Posted By: LOWright Re: G&B 176 resto progress - Mon Jul 13 2020 02:02 PM
Looking good Steve!!!!!
Posted By: Steven C. Re: G&B 176 resto progress - Mon Jul 13 2020 07:19 PM
Man I am loving this!!

Attached picture IMG_20200713_145349787.jpg
Posted By: Steven C. Re: G&B 176 resto progress - Thu Jul 30 2020 10:29 PM
BIG Thanks to Jim at T-Way graphics!!! Bummed I didn't get it exactly in the middle, but oh well, at least it's straight. This is the end piece of GPH large pricer box. Also a special shout out to Jim for working with me on price as we struggled to get the color right.
It's been so damn hot and I've been very busy with work that progress has slowed. But cooler weather coming.
Jim also made me some beautiful decals for the main skins! Kind of scared to attempt to put them on!
I did also get a half decent polish job on the aluminum pipes. Still a little final work to do.

Attached picture IMG_20200730_151401181.jpg
Attached picture IMG_20200730_182343047.jpg
Posted By: Done4 Re: G&B 176 resto progress - Fri Jul 31 2020 02:35 AM
Looking so really good Steve, remember, it’s one step of many. Your next one will be “ been there and done that” until the next one.
Posted By: Steven C. Re: G&B 176 resto progress - Sun Aug 23 2020 12:56 PM
Not happy with this at all!! Looks like $hit!!
So what's the answer? Just more hammer and dolly work??

Attached picture IMG_20200822_170138620.jpg
Posted By: huskybob Re: G&B 176 resto progress - Sun Aug 23 2020 03:44 PM
Take it to a body shop.
Posted By: Speedracer Re: G&B 176 resto progress - Mon Aug 24 2020 04:05 AM
Body filler, skim, sand, repeat
Posted By: Steven C. Re: G&B 176 resto progress - Mon Aug 24 2020 02:37 PM
Originally Posted by Speedracer
Body filler, skim, sand, repeat

Yeah, was hoping to avoid filler. But I'm no Jesse James with metal working.
And everyone up above had me thinking they did it without filler. I guess I misunderstood.
Posted By: Huskerscott Re: G&B 176 resto progress - Tue Sep 08 2020 08:14 PM
might have to find someone with an English wheel
Posted By: Rabbitman Re: G&B 176 resto progress - Tue Sep 08 2020 09:06 PM
If you want a really smooth finish you’ll have to use a little filler. I’ve never restored a pump without using a little in spots at least. Those original skins would be almost impossible to get perfect with an English wheel If beat up that bad.. I guess there’s someone out there that could but a little filler and body work will get it done better and way faster. I’m no whiz with that stuff but my son is....😎. Lookin good Steve. You’re not thinking about putting that nice globe outside on the pump are you? That’s what repops are for!!
Posted By: Done4 Re: G&B 176 resto progress - Tue Sep 08 2020 10:07 PM
Hang in there Steve, curves and contours are the most difficult to get right. With filler it’s easier to create the correct shape. It’s helps us weekend warriors look like hero’s, I know I used filler for many years to help me. Your pump is looking real good.
Posted By: Steven C. Re: G&B 176 resto progress - Tue Sep 08 2020 11:00 PM
I gave in to using filler. Just been lazy. But it's coming along.
Posted By: Steven C. Re: G&B 176 resto progress - Sun Sep 27 2020 03:43 PM
Well coming along. Had a few lazy weekends slow me down.
Skins almost done. Need to apply decals and clear coat. I'm little nervous about putting the decals on!!! Actually very nervous!!!
I also cleaned and painted all the inners that you will see when the door is opened.
Yes, went with the Bondo for the final dent repair! Came out pretty good. Good enough for an outside pump.
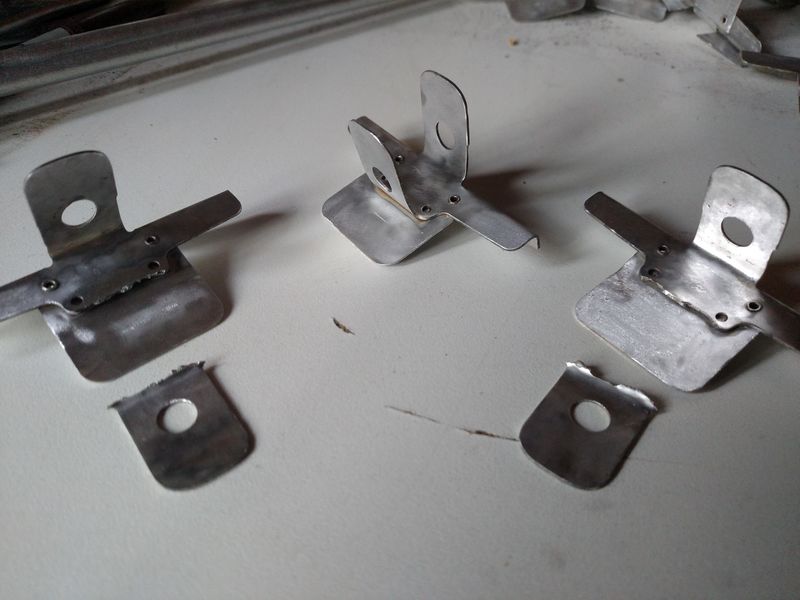
Had a couple of the marker tabs break off. Seemed like metal fatigue. I barely touched 'em. I'm thinking something like JB weld or something. Once in place they'll never be touched by me again.
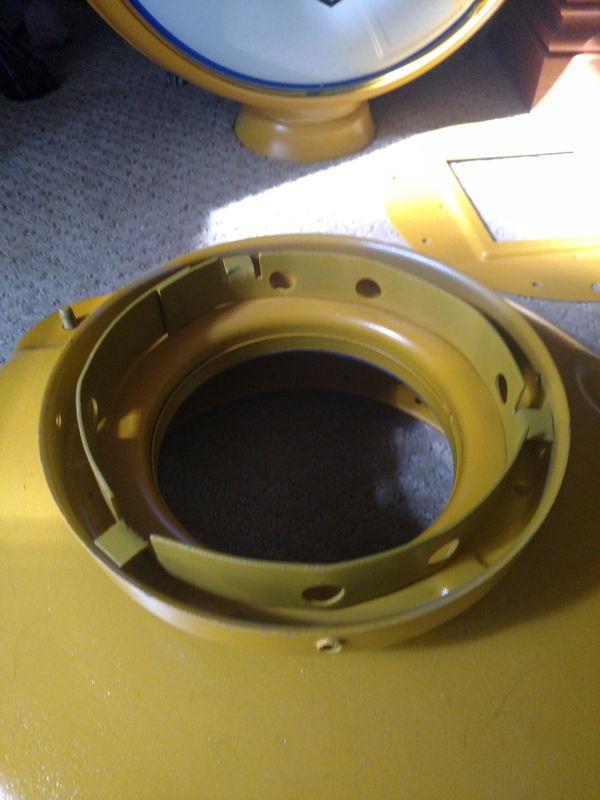
Also, something I've never seen before is this 7" to 6" globe adapter.
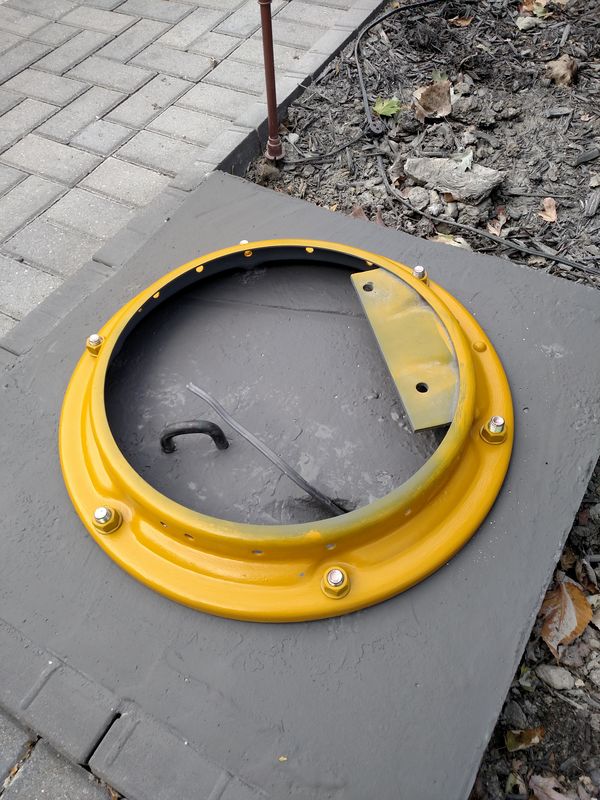
Poured a deep footing with lag bolts in top. Only have to pour slab on top and ready to start assembly right in the spot.
I do have a couple custom parts that I'm making yet to keep the hornets/wasp/birds out. Planning a plexiglass plate to fill the gap around the bonnet.
Also, building a rig to put a light bulb in globe. Original only had a bulb in top of bonnet that shined up into globe and down into cylinder.
Also, to fight theft, planning to put nuts on inside of globe bolts, drilled through and roll pinned.

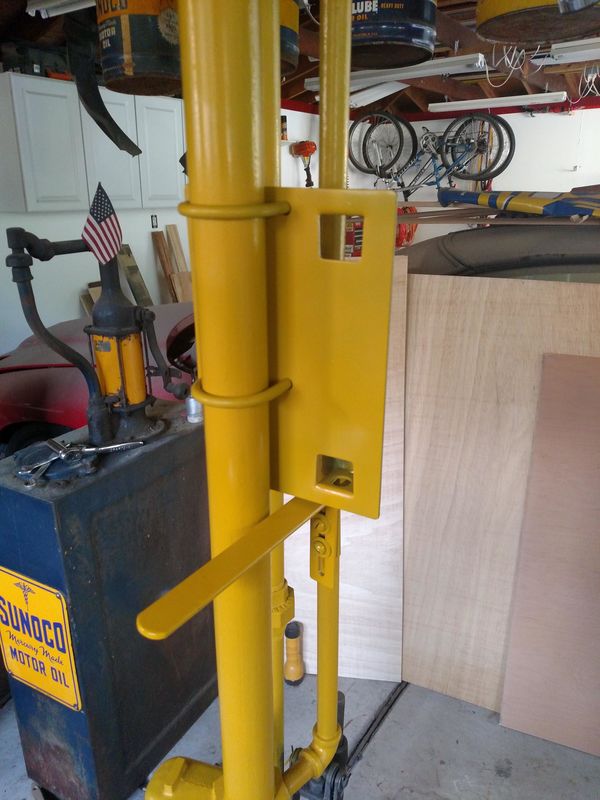
Attached picture IMG_20200927_111230103.jpg
Attached picture IMG_20200927_111622707.jpg
Attached picture IMG_20200927_113340240.jpg
Attached picture IMG_20200927_113523230.jpg
Posted By: Steven C. Re: G&B 176 resto progress - Sun Sep 27 2020 06:18 PM
Holy *****!!! crazy
Always apply the graphic to the more complicated panel first!! Damn!!
Just leave it?
besides me screwing up the height because not thinking to look at the other panel. I just did the one that was lying on the horses first. They came out and look amazing!!!!

Pealed it off. T-way has a new one on the way!! I just couldn't leave it like that!!

Attached picture IMG_20200927_140845016_HDR.jpg
Posted By: BrianH Re: G&B 176 resto progress - Sun Sep 27 2020 08:42 PM
I haven't done the decals yet, but I'm planning to make a paper template to make sure I get the decals in exactly the same place on my Wayne 60 doors. Might try that.
Posted By: Steven C. Re: G&B 176 resto progress - Sun Sep 27 2020 08:57 PM
Originally Posted by BrianH
I haven't done the decals yet, but I'm planning to make a paper template to make sure I get the decals in exactly the same place on my Wayne 60 doors. Might try that.

Brian, I used blue painters tape and a tape measure and pencil. Made measurements and marks. That wasn't the issue. I did the clean panel first not thinking how different they are! The placement I chose wouldn't work on the other panel.
But like I said, pealed it off. Waiting on new decal. Just couldn't live with it.
Posted By: Steven C. Re: G&B 176 resto progress - Mon Sep 28 2020 01:03 AM
Jim at T-way suggested this, and he's actually right, based on where I'm putting this up against the deck, there should probably only be a decal on the front.
Ill think about it while I wait for new one to arrive.

Attached picture 20's.JPG
Attached picture 1930's-12.jpg
Attached picture 1930's whirlfoam sign different bottle rack.jpg
Posted By: Steven C. Re: G&B 176 resto progress - Sun Oct 04 2020 02:50 PM
Pads in!! Getting really close now!!!
You may notice, there is no hole/pipe coming in for the electrics! DAMN!!!
I'm literally in the shower after finishing up, and it hits me!!! I forgot to put in the tube for the electric line!!!! DAMN!!!!
So soon as I get out of shower, I run out. Only option was to hammer a stick on an angle down and through the still soft mix and out through the bottom side. So I can fish the line up and through!!!
Loop is for chaining up down should I decide to use it. Tried to flame harden but couldn't get hot enough. Oh well, anything to deter.
Rig mimics height of base.

Attached picture IMG_20201003_185801948.jpg
Posted By: Steven C. Re: G&B 176 resto progress - Sun Oct 18 2020 09:10 PM
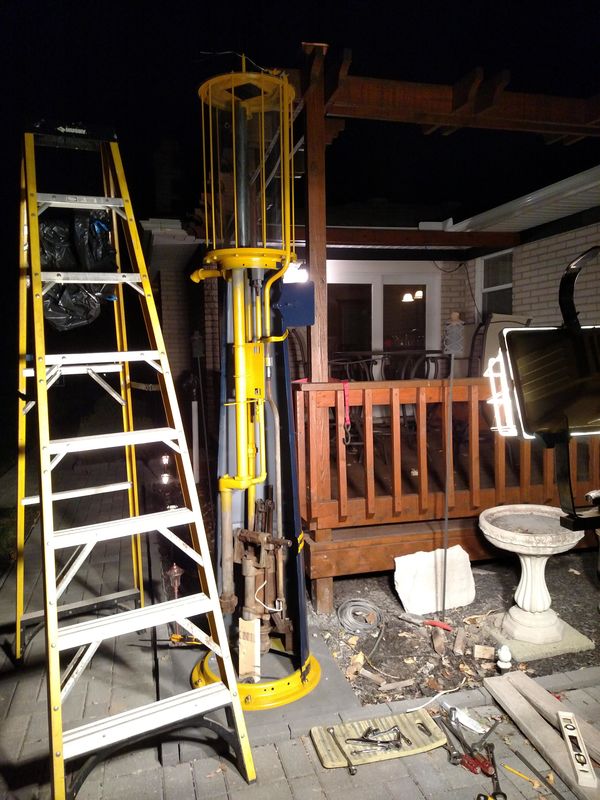
Construction begins.
I need to get gallon marker numbers painted in order to finish up.
Found out this morning decals for them are going to take longer than I want to wait.
Hacking things up a bit trying to fit skins. Gonna be a lot of paint to touch up.
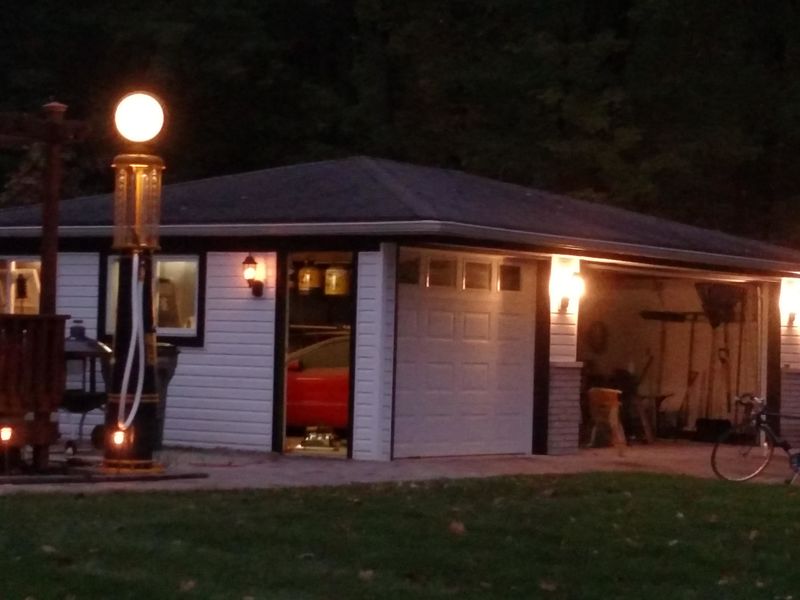
Funny, thing sure seemed taller when standing in the garage!

Attached picture IMG_20201017_142105232.jpg
Attached picture IMG_20201017_152754607_HDR.jpg
Attached picture IMG_20201017_201332790.jpg
Posted By: KZ1000 Re: G&B 176 resto progress - Mon Oct 19 2020 12:06 AM
The fun part begins, looking good
Posted By: UpnorthNeil Re: G&B 176 resto progress - Mon Oct 19 2020 12:10 AM
That pump is looking really nice Steve. Is that a Sunoco ladder in the background : )
Posted By: Steven C. Re: G&B 176 resto progress - Fri Oct 23 2020 02:45 AM
Well, was hoping to finish up tonight but holy cr@p it doesn't go back together as easily as it came apart!!
Still some bolts to get in between skins!
But looking good!
And need to fabricate nozzle rest

Attached picture IMG_20201022_184641198.jpg
Attached picture IMG_20201022_184939390.jpg
Attached picture IMG_20201022_184535010.jpg
Posted By: Done4 Re: G&B 176 resto progress - Fri Oct 23 2020 03:25 AM
Really nice job Steve, very nice addition to your deck area. Sit back on your deck and have a cold beverage and just enjoy. I tend to do that a bit too much but I have no problem with it
Posted By: BrianH Re: G&B 176 resto progress - Fri Oct 23 2020 12:14 PM
Looking really good Steve. Nice work.
Posted By: T-way Re: G&B 176 resto progress - Fri Oct 23 2020 12:44 PM
Steve,

The numbers look good!

And you were worried . . . Lol

Later . . .

Jim
Posted By: Steven C. Re: G&B 176 resto progress - Fri Oct 23 2020 01:20 PM
Originally Posted by T-way
Steve,

The numbers look good!

And you were worried . . . Lol

Later . . .

Jim

Thanks Jim, but if you saw them up close, their a little scraggly in spots. Not as sharp as your decals would have been.
I have to give a shout out to Jim for the main decal!! Great work and great to work with!!!
Posted By: UpnorthNeil Re: G&B 176 resto progress - Fri Oct 23 2020 02:21 PM
Gotta feel good about this outcome Steve. Not everyone can look back on their quarantine and see such a large accomplishment.
Posted By: Speedracer Re: G&B 176 resto progress - Sun Oct 25 2020 02:27 AM
Looks good, but that 10-speed bike is the real eye-catcher... lol

... nice job
© Primarily Petroliana Shop Talk